How Tos for EAM Store Kiosk
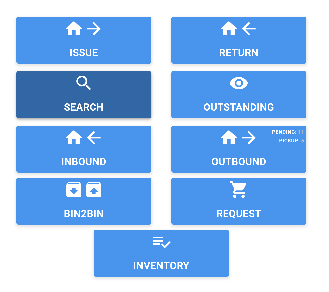
You can head to EAM Store Kiosk and click on the Search button to get all of your Equipment and Parts in Stock.
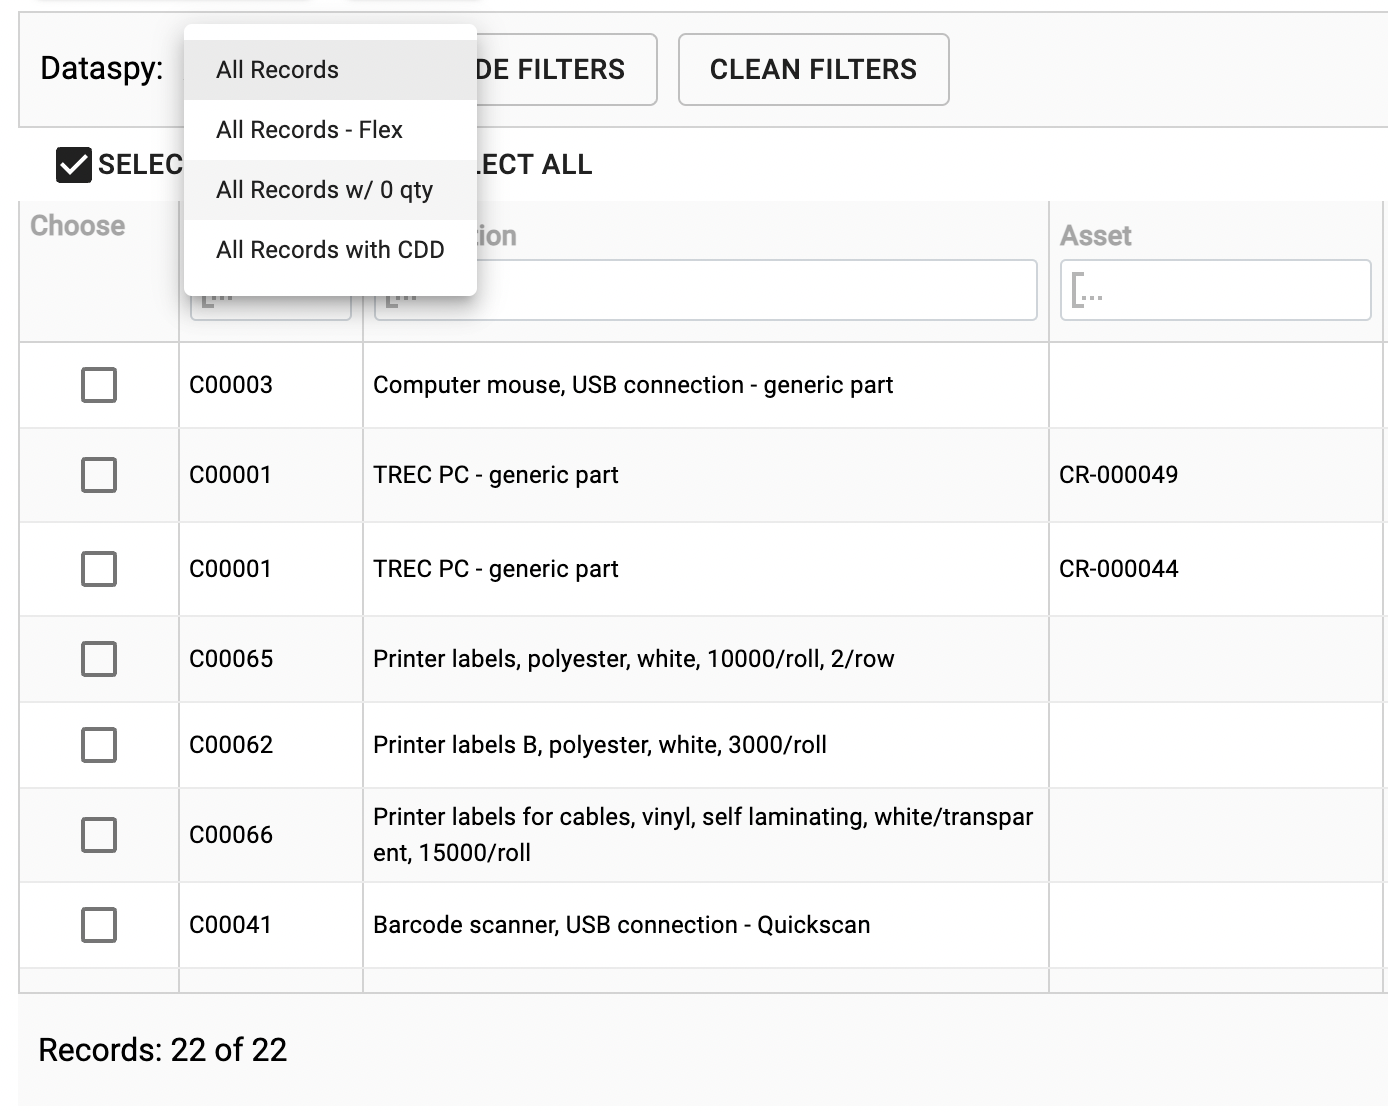
You will get a list of all Assets and Parts and you can even select one or many to do an Issue or Return Transaction from this Screen.
You're also allowed to check all records of the stock available for parts that are out of Stock, so you can understand which parts you might need to order and Return to store.
You might encounter a situation where the inventory of your store is not properly updated anymore. This makes it very cumbersome to re-do the inventory, with you perhaps relying on a lot of issues and returns, as well as bin to bin transactions, and will tempt you to do the whole store from scratch.
We have a functionality that facilitates this process by allowing you to do an Inventory from scratch, after you manually check the bins one by one to see which parts are there.
First, click on the Inventory button.
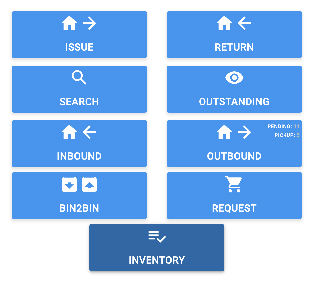
Tap on "Create" to do an Inventory List. In case you've done one before, you will see also a list of your previous inventory lists.
After this, you can select one of three modes:
- ALL - You'll check all available Bins and check which parts are there or not.
- BIN PREFIX - Select the prefix of a Bin, and then get a list of Bins that start with that prefix.
- BIN LIST - Select individual bins that you want to check.
Tap Next and select the Bins that you're checking.
You'll get to a page where you have the List of Parts and Assets that should be in that Bin. You can then scan them and they will automatically be checked as "IN BIN".
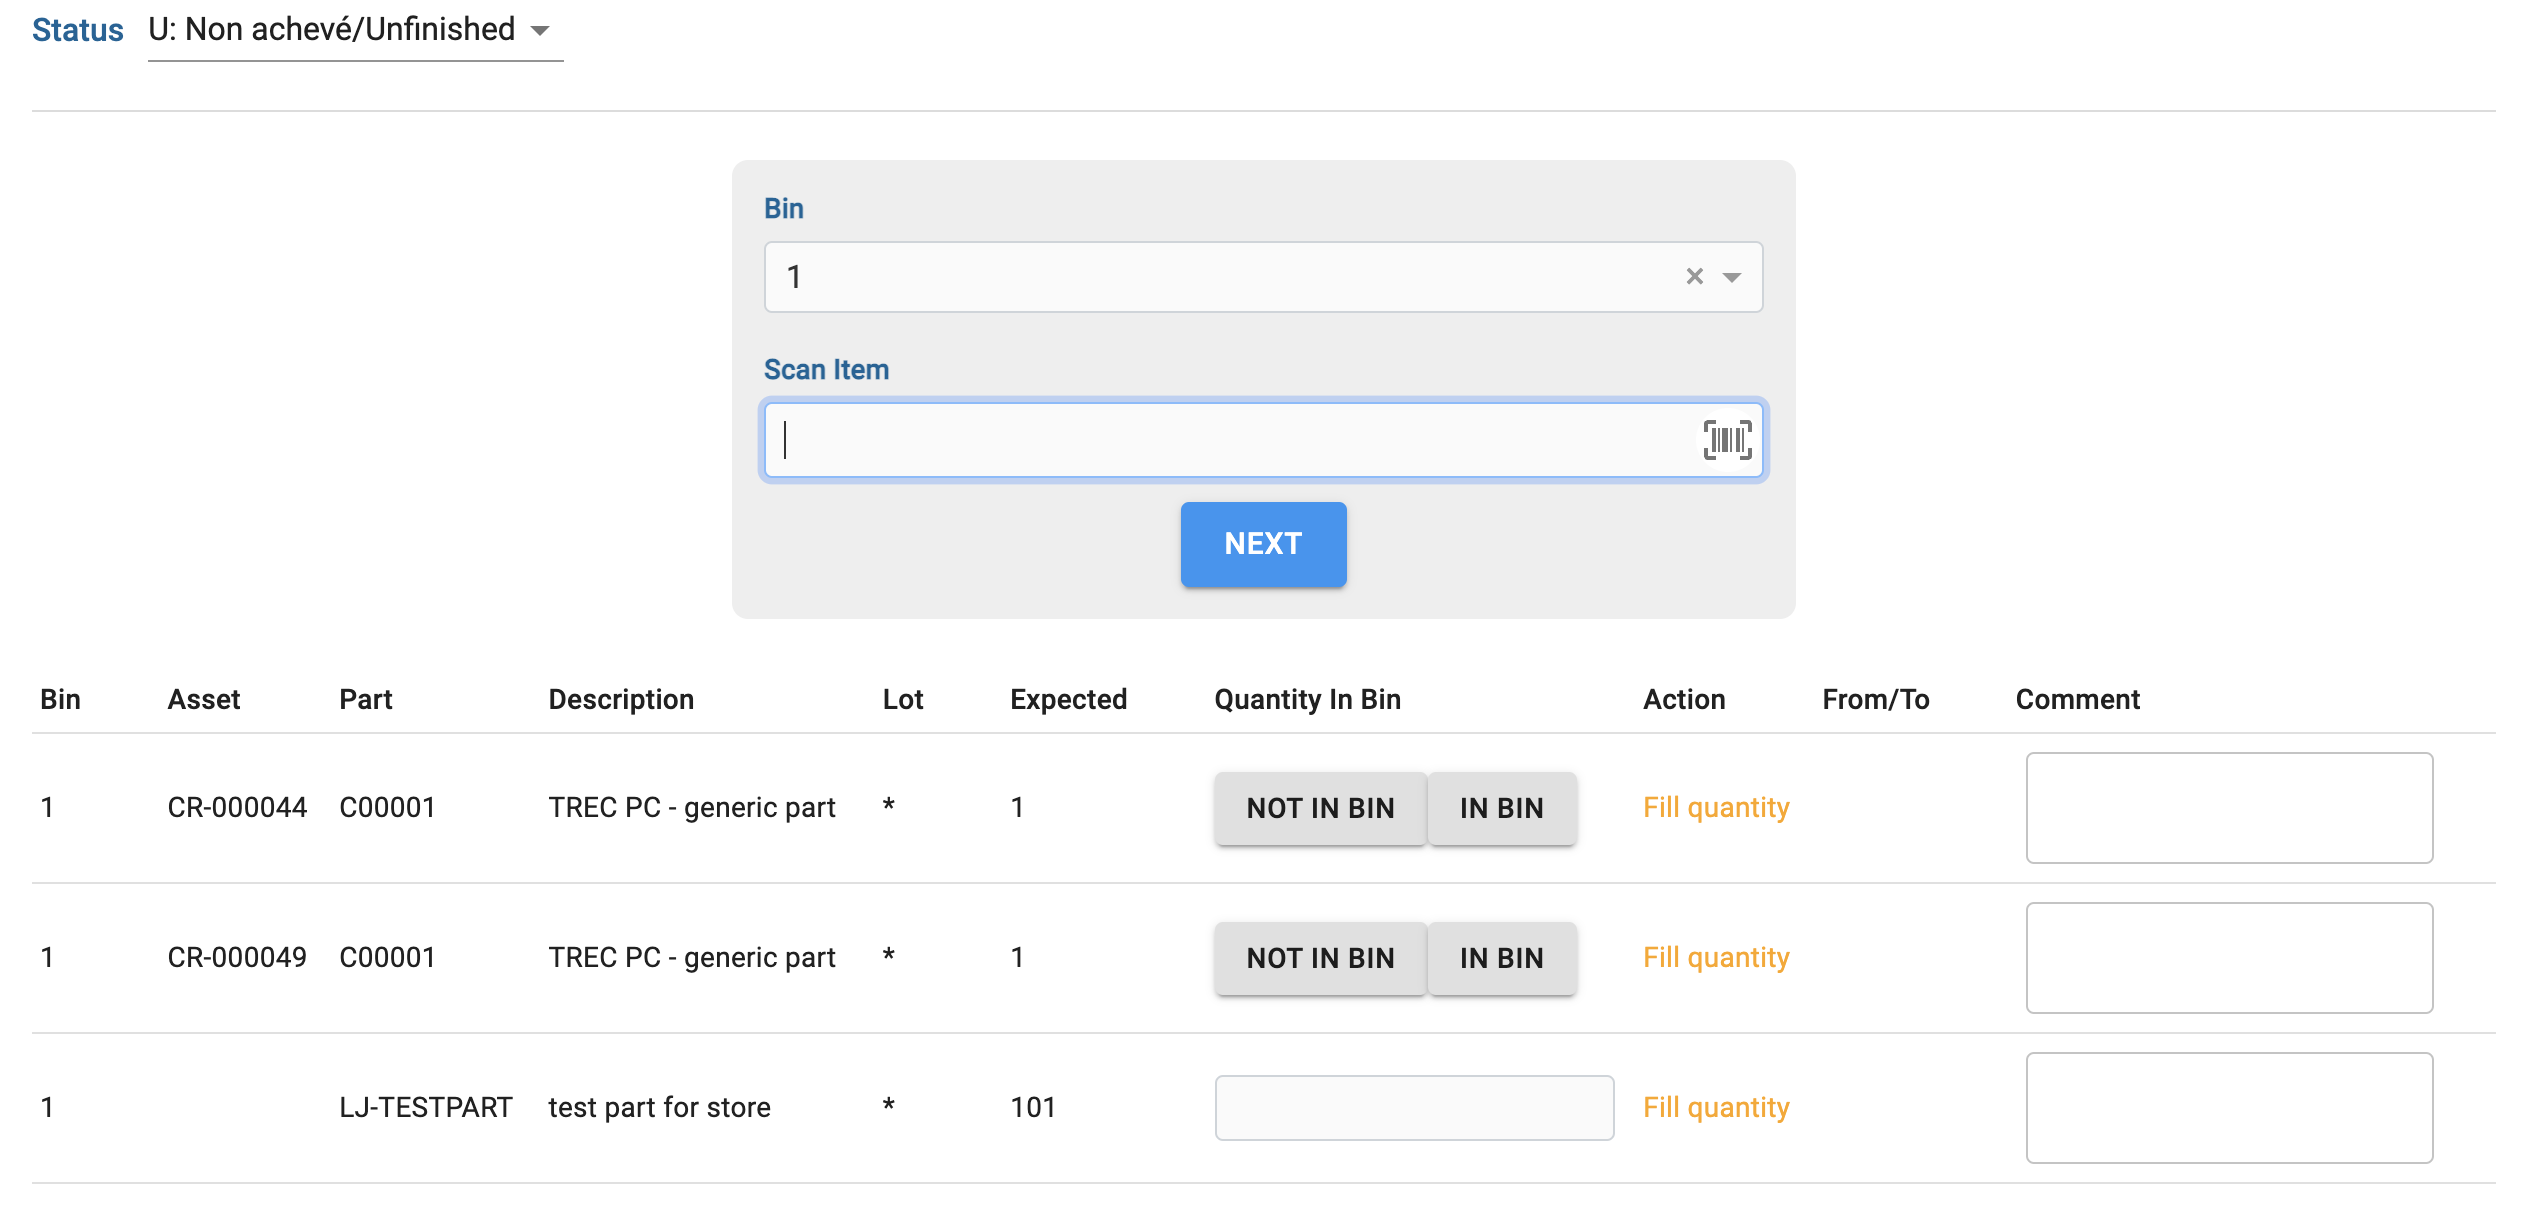
You can also fix the stock quantity that you have in case you have more or less of the parts that you encountered there.
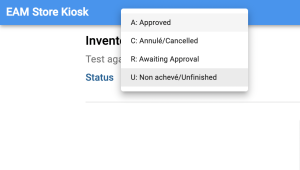
You must fill ALL of the selected Bin list in order to finish your inventory. Click save on each iteration, and when all of the stock is done pass the Status into A - Approved, and the corrections will be done to your store.
There are two main types of transactions you can do in your store:
- Issue - Taking them OUT of a store
- Return - Taking them INTO a store
The moto should be: Issue out, Return in.
Make sure to do these with a Barcode scanner or using your phone with QR code stickers attached to the bins and/or equipment.
You can do transactions to four different things:

- Work Order/Activity - The Part will be used in the Work Order or Activity you selected inside the Work Order.
- Project/Budget - You can use a Project or Budget Code in EAM to track the expenses.
- Equipment/Location - You can send parts to the equipment and location where they were used, and this will be kept tracked as Parts Used. If you Issue/Return an Asset, this will be a Structure change instead, where Issuing will detach the Asset from that Equipment and Return will attach.
- Employee - Select a CERN ID of a person that will use that Part. These transactions will be tracked in the Outstanding menu in your Kiosk store.
Once you selected the usage of the transaction, select an equipment or part. Then, select the BIN in which it should go to, or be issued from, as well as the quantity.
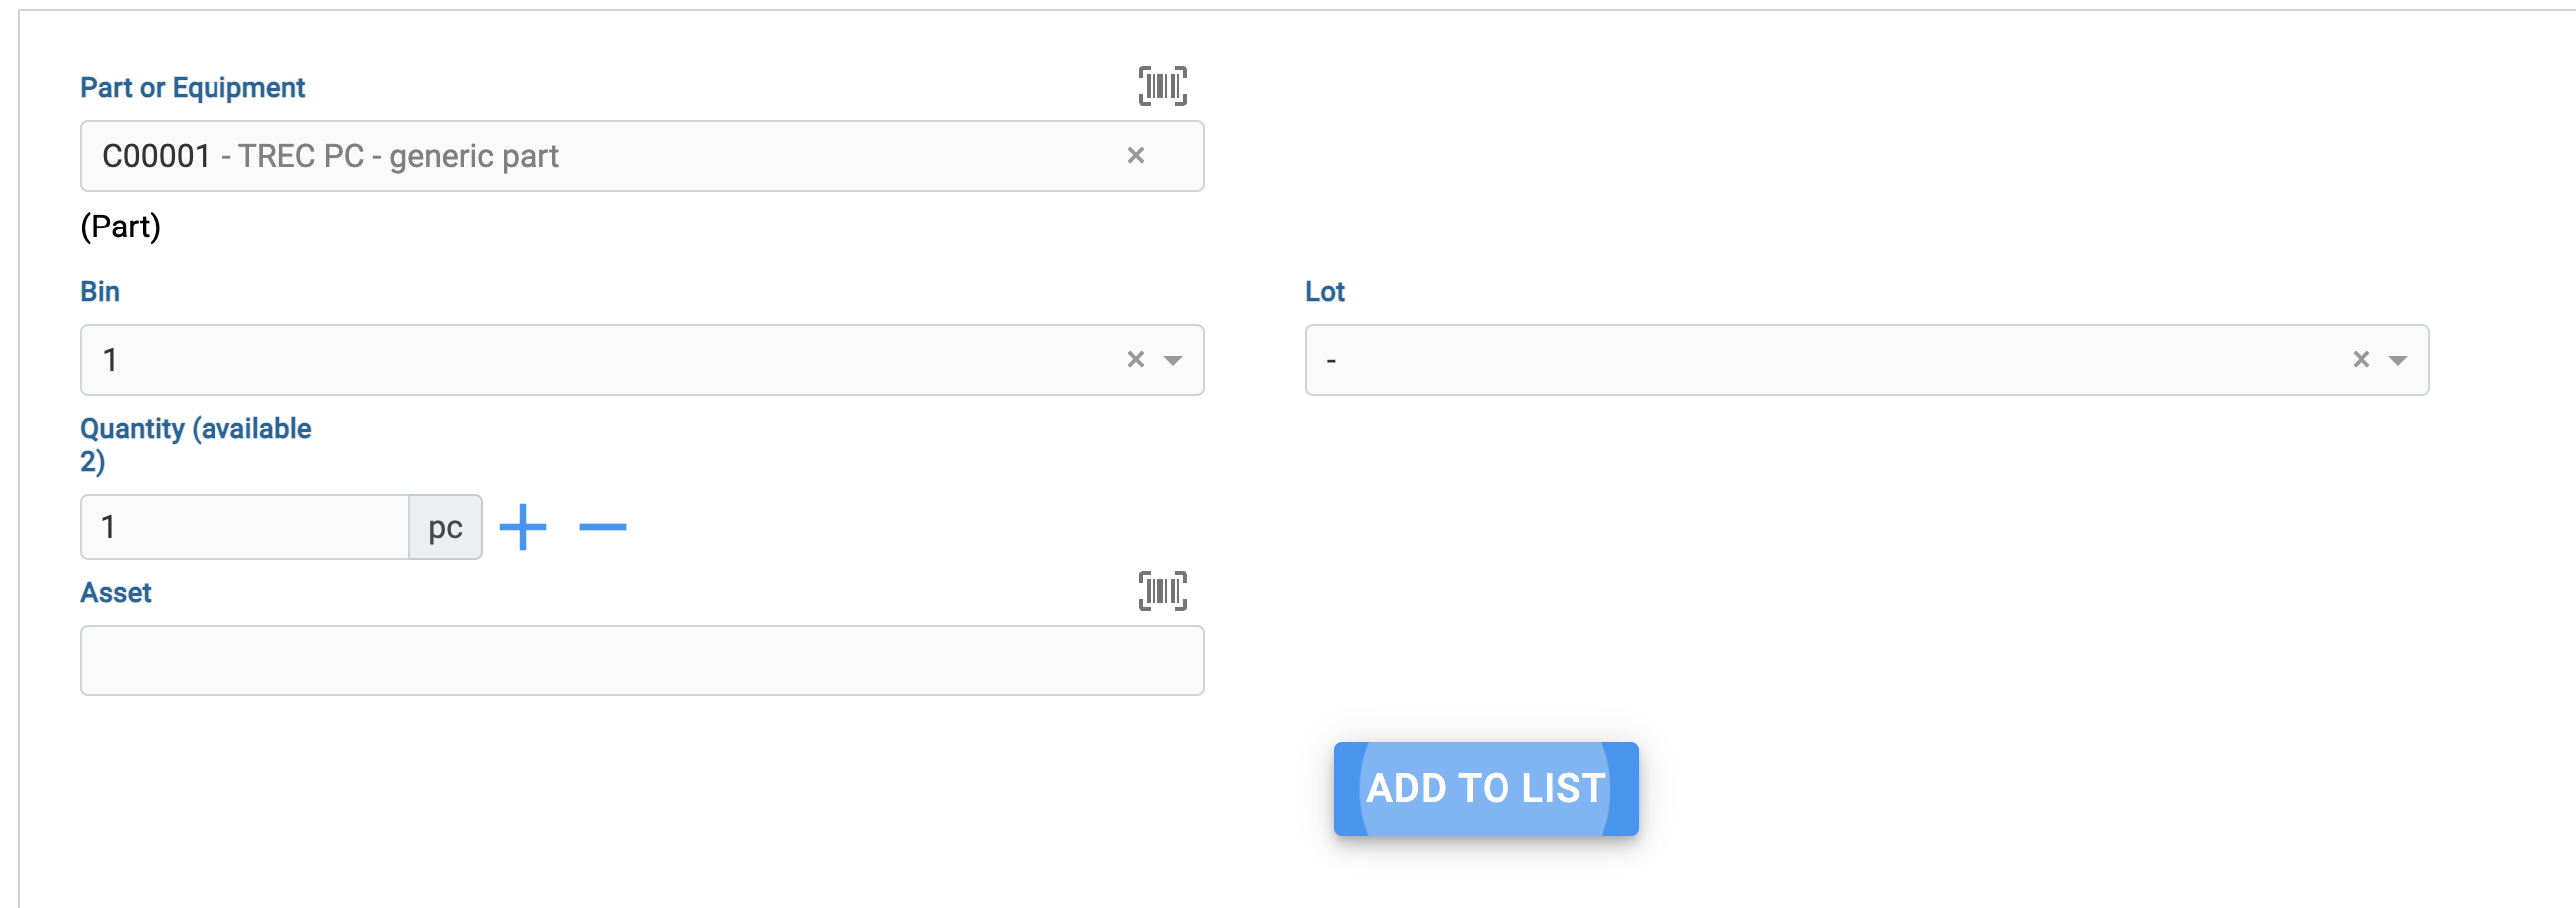
You can add many parts and equipment to the list and then do all those transactions in one go.
Make sure to also click on the barcode icon to use the camera of your device to scan the barcode stickers you might have on these parts or equipment.
There are two very good options to avoid having to type the codes for parts, equipment or bins:
Use your phone
The icon above lets you use the camera of your device to scan a barcode or QR code. Note that the QR Codes work much better with scanning from your phone
Use a specialized barcode scanner
You can buy an android based mobile barcode scanner where you can use Kiosk on. Kiosk is a web app, which means you can use it on any device as long as it has a browser.
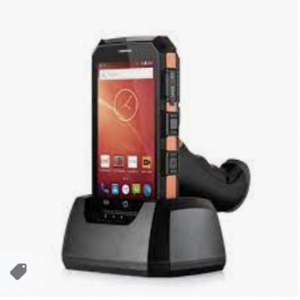
Whenever you want to scan a code, tap on the box you want to input, and click on the side button of the barcode scanner in order for it to register that field. This accelerates the process a lot and makes it much easier to use as transactions will take much less time.
Bins are an integral part of the Store. They denote the specific location inside a building where your parts or equipment should be. We recommend not only having a good simple naming convention for the Bins, but also printing barcodes so you can scan them quickly with a Mobile device and Kiosk.
To add your own bins however, you need to go to EAM (eam.cern.ch link here).
Go to Materials > Setup > Stores and select the store you want to add the bin to. Then, navigate to the Bins Tab.
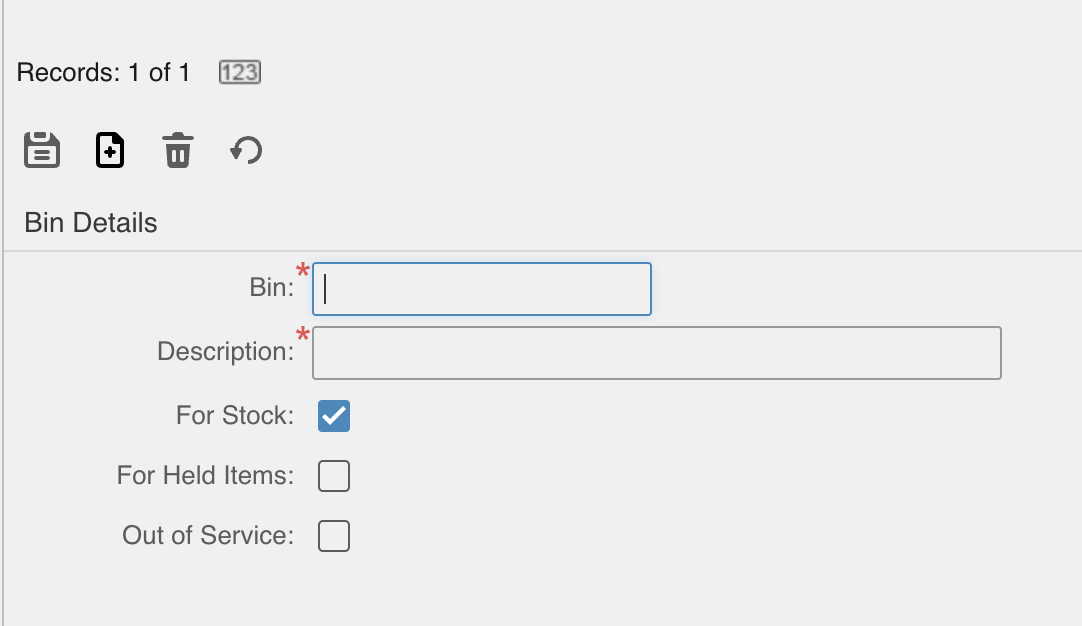
Put the code of the Bin under the Bin field and its description, up to a maximum of 80 characters. Make sure that the "For Stock" checkbox is checked.
In case you want to delete a Bin, it's enough to put it as Out of Service and it won't show in any search field again.
Lots are used to keep track of specific batches of equipment or parts that you order.
Let's say you ordered 10 pallets of hinges, from different manufacturers. You can create a Lot in EAM that denotes such lot code from the manufacturer and then add it to your transaction (Return or Issue).
Requirements:
- Part should NOT be Tracked by Lot in EAM if the part if tracked by quantity
- Lots must be created in advance in Materials > Setup > Lots - (EAM)
After you receive the tools and put them in your Store, when doing a return transaction, make sure to
1) First select the part
2) Then select the Bin
3) Then select the Lot to which the parts belong. This allows you to put parts of many different lots into the same bin.
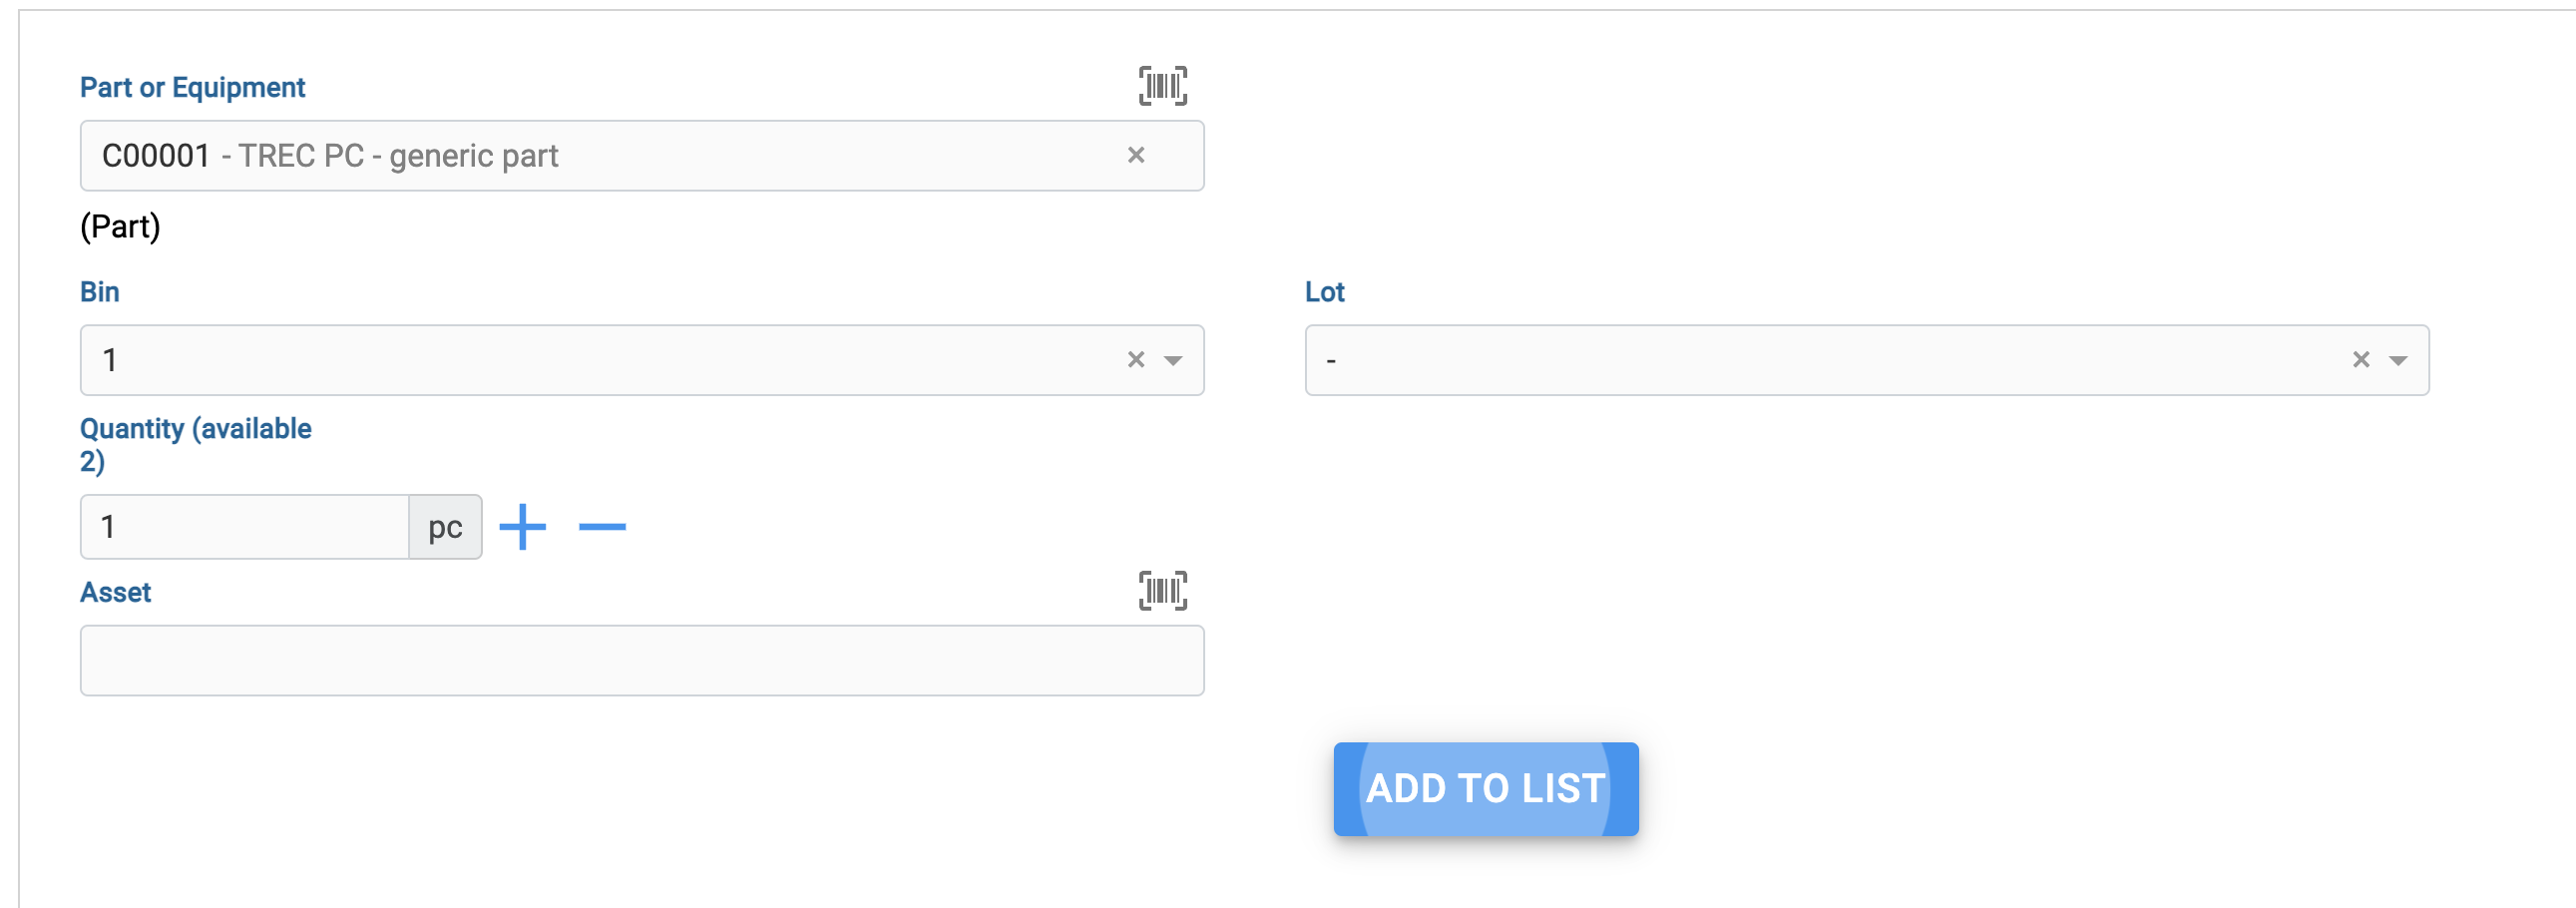
If your part is tracked by asset and you wish to handle the lots you should also select the tracked by 'lot'
If your assets also exist and are using a part, you must remote the part reference (only works for assets not in store) and reselect the same part.
This allows entering the correct lot number for the asset